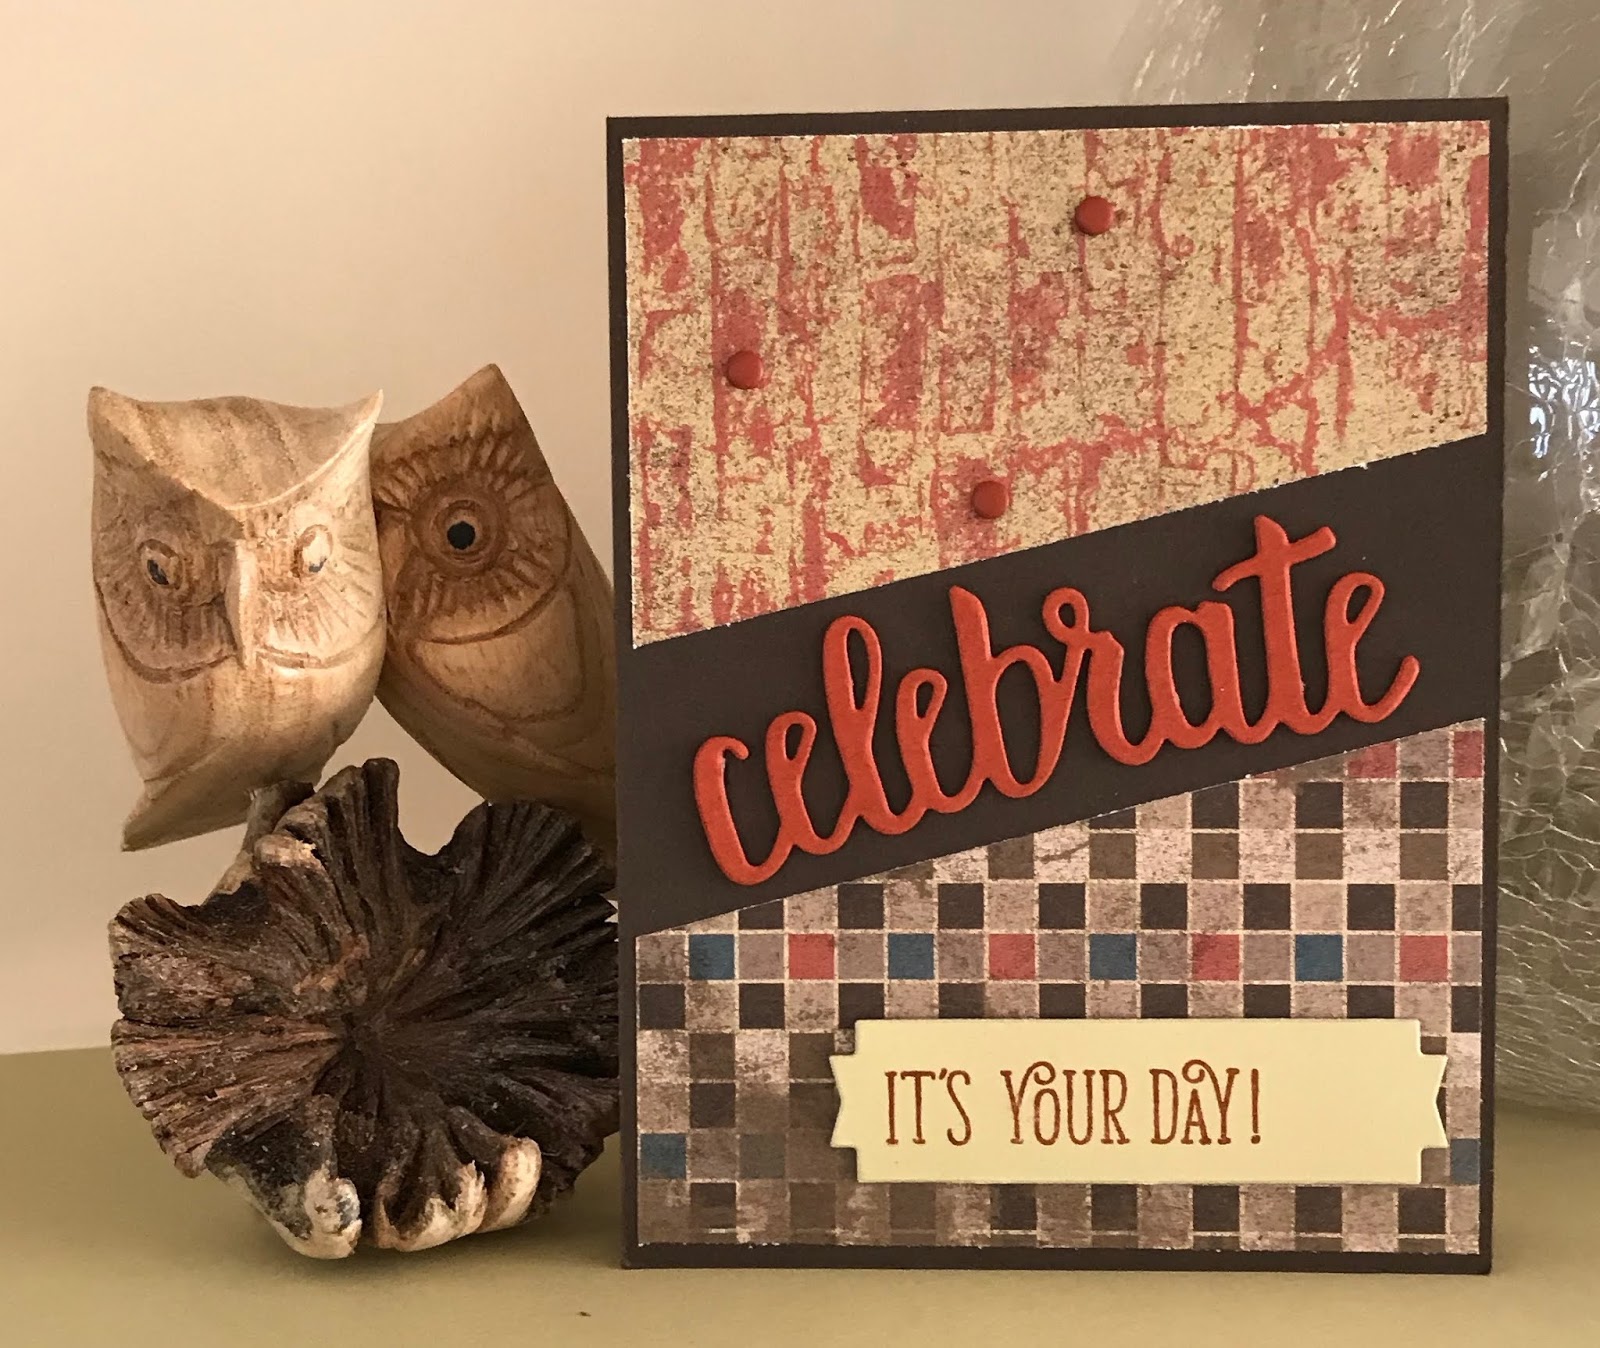
Well Perennial Birthday seems to be my go to stamp set for birthdays at the moment. Especially for male cards.
These two cards are the same except for the Enjoy sentiment, I couldn't decide which one to use so did one of each. I'm veering towards the red on white, which do you prefer?
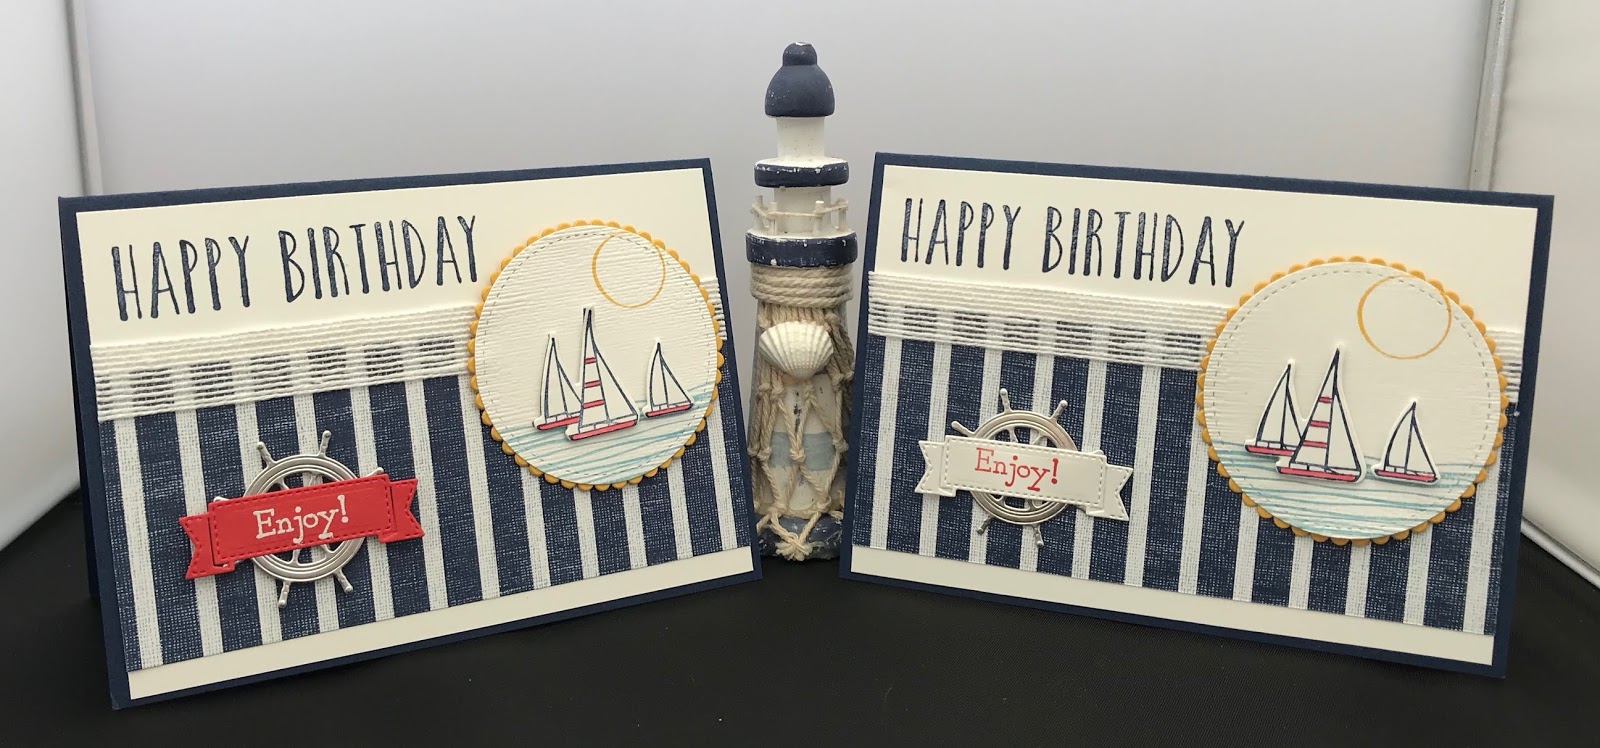
It's quite an easy card to make (I don't do hard cards) ha ha!!
To recreate this card follow the guide below:
® = retired, (sab) = Sale-A-Bration, (H) = Hostess, (nsu) = not stampin’ up, (ss) = Stamp set, (DSP) = designer series paper, (CS) = Card Stock,
when working with layering dies I start with the largest and work down (ie: the largest is number 1 and the smallest 4).
Card Stock and measurements: (Centimetres)
Night of Navy: 21 x 14.5scored at 10.5
Whisper White: 4 pieces, 14.3 x 10, 4.5 x 3.5, 5.5 x 2, 6.5 x 6.5
Crushed Curry: 7 x7
Silver Foil: 4 x 4
Come Sail Away DSP: 14.3 x 6
Flax Ribbon: 14.3
Embossing Folders: Subtle
Dies: Layering Circles, Lakeside, Smooth Sailing, Stitched Shapes
Stamp Sets: Bella & Friends ®, Lilypad Lake, Perennial Birthday, Sailing Home
Stampin' Blends: Poppy Parade
Stampin' Pads: Balmy Blue, Crushed Curry, Night of Navy, Poppy Parade
Stamp the happy birthday in the top left corner of the Whisper White layer in Night of Navy.
Adhere the DSP about 0.5 from the bottom of the same layer using liquid glue.
Add the ribbon at the top of the DSP half on half off, and adhere using tear n tape.
On the square of Whisper White, stamp the waves at the bottom, then the yachts (don't worry about the overlay) and lastly the sun towards the top (make sure it's not too high up.
On the smallest piece of Whisper White stamp the Enjoy sentiment in Poppy Parade.
On the last piece of Whisper White stamp the yachts again in Night of Navy.
Now colour in the sails using the blends.
Place all items to be die cut on your plate together. Silver Ships Wheel, Crushed Curry scalloped circle No:4, yacht scene Stitched Shapes circle No: 2, banner, separate group of yachts.
Adhere the yacht scene to the scalloped circle using liquid glue then attach to the base card using dimensional pads.
Overlay the yachts using dimensional pads.
Adhere the banner to the Helm using liquid glue and attach to the base card using dimensional pads.
Will be back again soon with more cards!!
Annette X