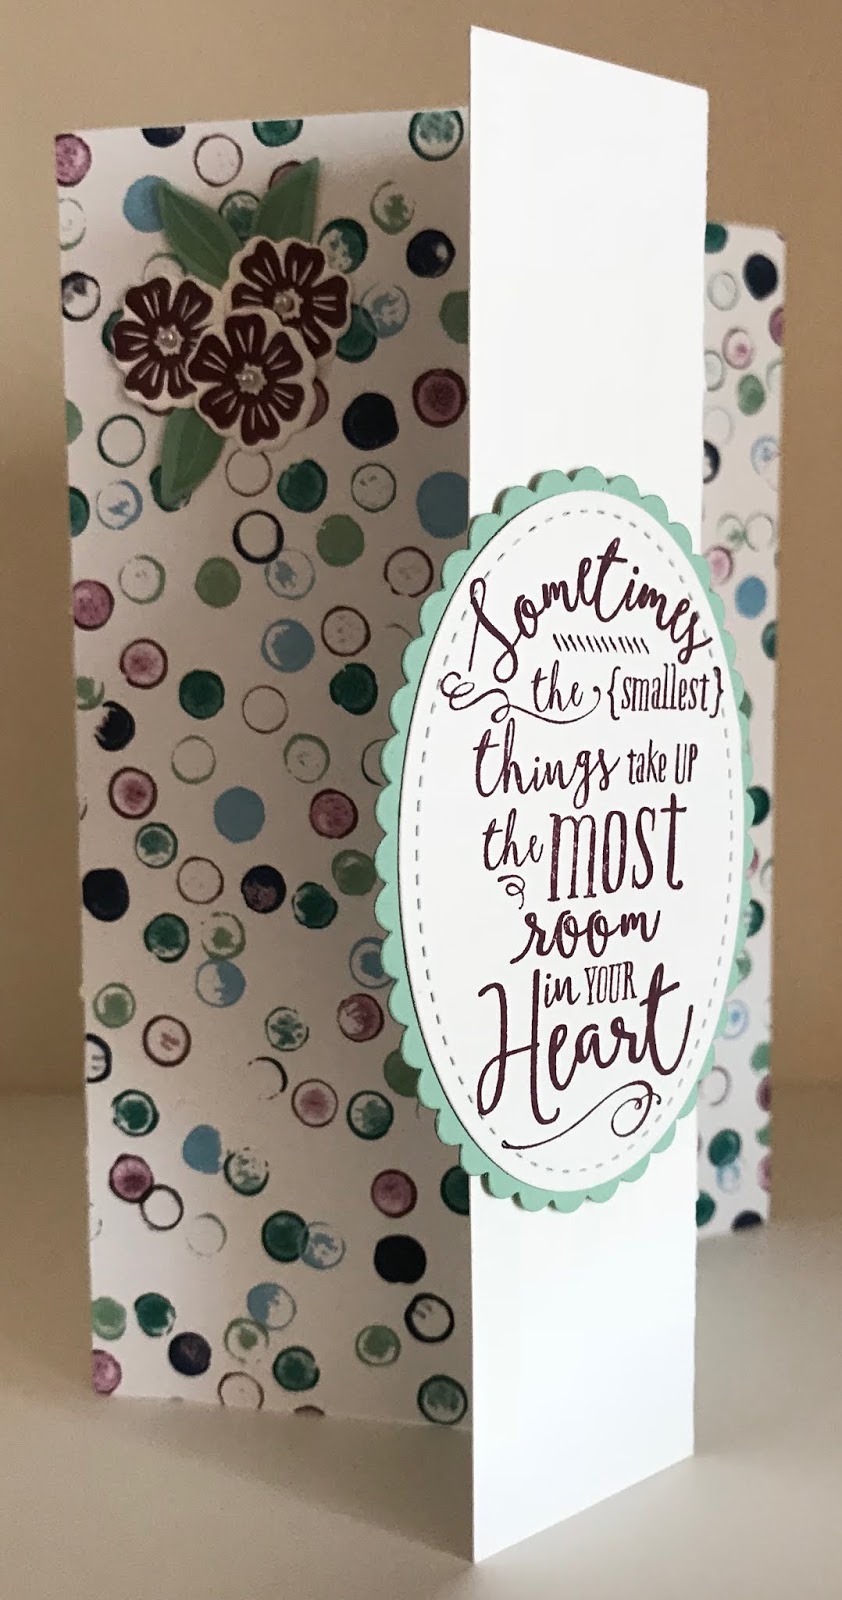
Showing posts with label Beautiful Bouquet. Show all posts

Tuesday, 30 July 2019

Painted Seasons meets Beautiful Bouquet

Hi folks, well I've been busy lately getting some cards done for the next few weeks.

This one I  think is quite pretty and not too hard to make.


We have two anniversaries, for this month so I made them the same card as they don't see each other and once I'd made the first one, I liked it so much I made it again for the second, swapping the colours for the flowers.


Once done, I think I prefer the one on the left, what about you?
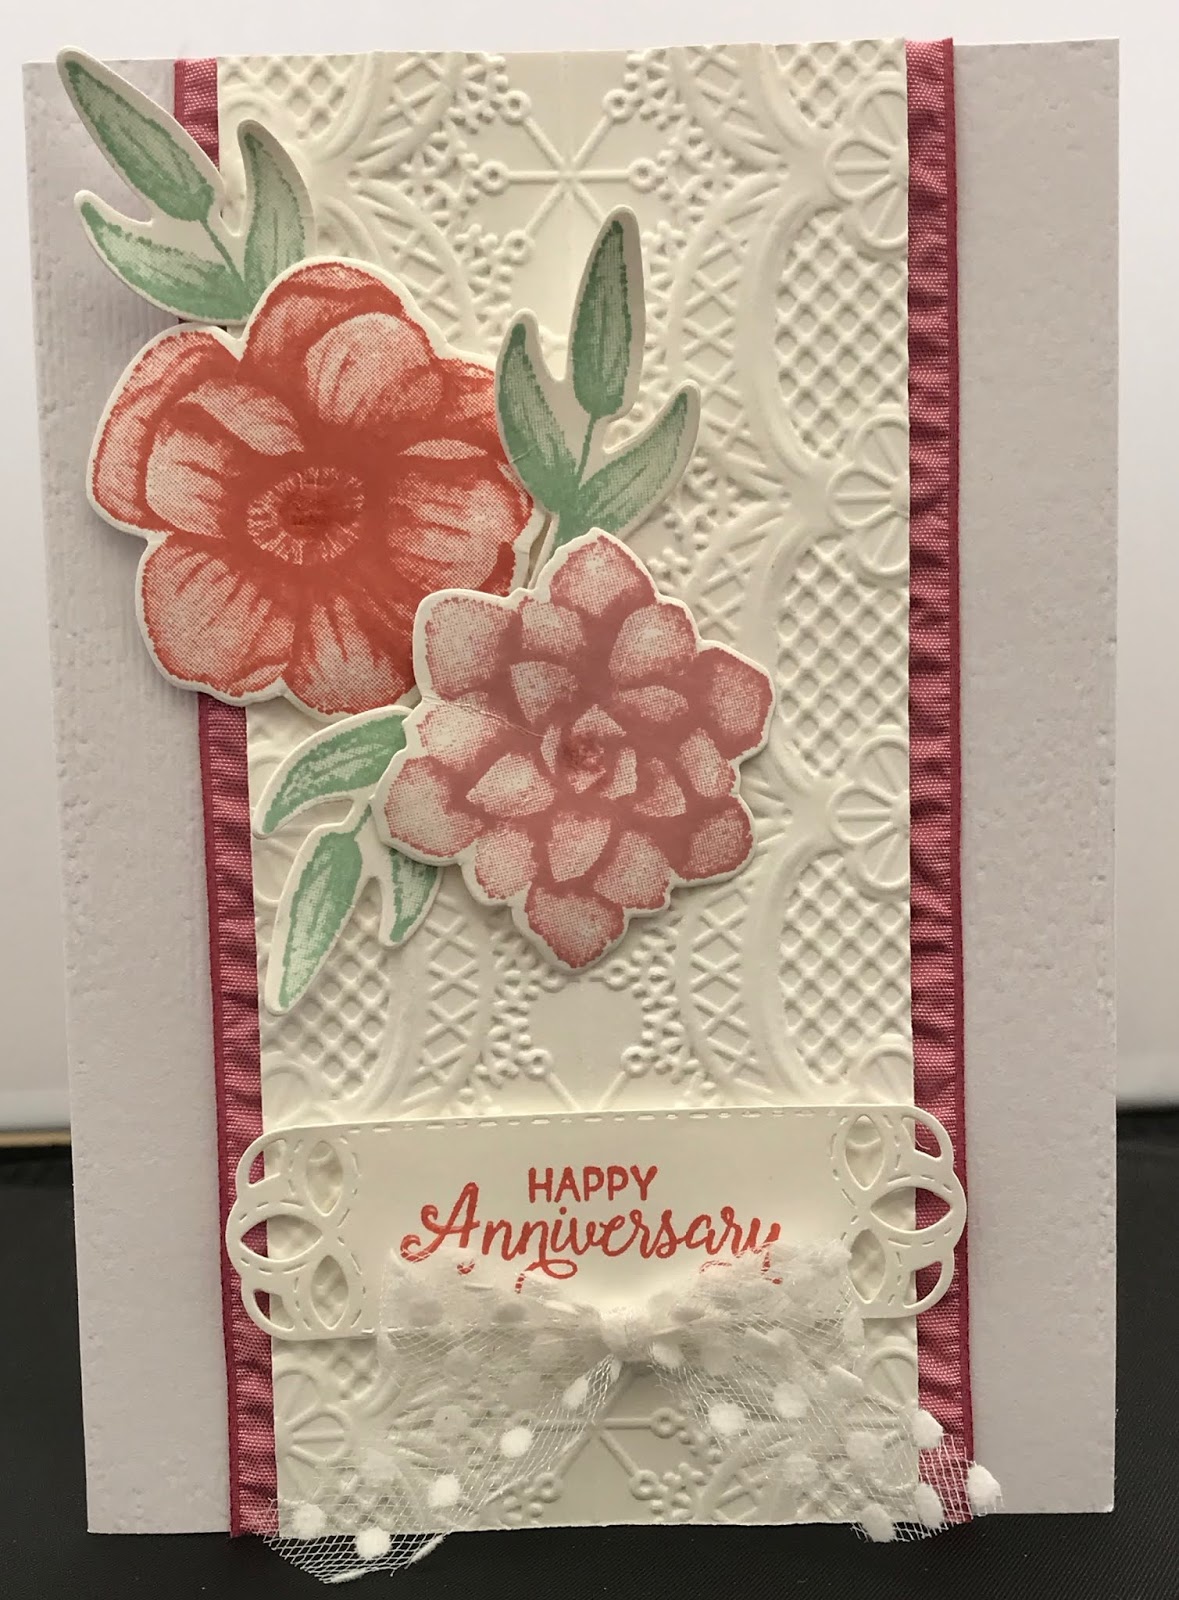


To recreate this card follow the guide below:
® = retired, (sab) = Sale-A-Bration, (H) = Hostess, (nsu) = not stampin’ up, (ss) = Stamp set, DSP = designer series paper, (cs) = Card Stock

Base card is Whisper White (cs) measuring 21 x 14.5cm scored at 10.5cm, then dry embossed using the Subtle folder.


Whisper White panel measures 14.5 x 6.5cm and is dry embossed using the Lace Dynamic folder. This is edged with some ® Rushed ribbon, adhered using double sided tape and then added to the base card using dimensional pads.


Using Whisper White (cs) stamp the 2 flowers from the ® Painted Seasons (ss) in Terracotta Tile and Rococo Rose (just love these new colours) and 3 of the leaves in Mint Macaron then die cut using the ® Four Seasons dies.


Stamp the sentiment from the Beautiful Bouquet (ss) and die cut using the peek a boo label die from the Stitched Labels dies.


Arrange the flowers and leaves on the card front and attach using dimensional pads along with the sentiment towards the bottom.


Finish off with a bow at the bottom using the Polka Dots Tulle ribbon.


Will be back again soon with more cards

Annette x

Saturday, 29 June 2019

Beautiful Bouquet meets Bouquet Bunch

Well Jenny's big day has arrived.

From 5:00pm tonight all our children will be married, she's so excited and so are her daughters, who are going to be bridesmaids.

It's 8.30 now and I'm enjoying my last few minutes of tranquility before they all arrive to get ready!

As for the card I went for simple and stylish. There's a lot of my old stash in this one.


I was inspired by a card made by Lou Katzelman

To recreate this card follow the guide below:
® = retired, (sab) = Sale-A-Bration, (H) = Hostess, (nsu) = not stampin’ up, (ss) = Stamp set, (DSP) = designer series paper, (CS) = Card Stock

Start with  a card base of Whisper White (cs) 17.5 x 25 cm scored at 12.5 cm
(my base card is (nsu)
Bride ® (dsp) measuring 12.3 x 17 cm
Silver Foil measuring 7 x 7 cm
Window sheet measuring 7 x 7 cm
Gorgeous Grape (cs) measuring 3.5 cm x 16.5 cm
Whisper White (cs) measuring 3.5 x 11.5 cm
Sahara Sand (cs) measuring 7 x 9.5 cm
  • Make a window in the Bride ®  (DSP) using the 2 largest square shapes from the Stitched Shaped framelits 
  • Place the (DSP) on top of the base card and using a light pencil, mark out the square on the base card
  • Stamp the sentiment from the Beautiful Bouquet (ss) in Basic Grey inside the marked square then remove the pencil mark
  • Stick the piece of Window Sheet at the back of the Bride (DSP) using Tear and Tape
  • Adhere Foam Adhesive Strips around the window and along the edges of the (DSP) 
  • Remove the backing from the strips at the bottom of the card and the bottom 3 sides of the square  but not the top of the square or card to the base card
  • Insert the sequins into the square then remove the rest of the backing  paper and adhere the rest of the card down
  • On the strip of Whisper White  Mr & Mrs from the Beautiful Bouquet (ss) in Basic Grey 
  • Die cut the Mr & Mrs Using the Bouquet Bunch framelits die then die cut 3 fern leaves in Silver Foil, 3 small flowers in Whisper White, 4 small flowers in Gorgeous Grape, 1 larger flower in Gorgeous Grape and the stems in Sahara Sand
  • Wind the metallic thread round the stems attaching the Mr & Mrs label and adhere to the card using liquid glue
  • Add the 3 ferns, then the 3 white flowers, then the 4 small purple flowers also with liquid glue then larger flower in the middle using small dimensional pads and adding the Rhinestones as the flower centres. (Instead of rhinestones I used some small beads  I have in my stash.
Will be back with more cards soon
Annette X

Thursday, 27 June 2019

Layering love meets Beautiful Bouquet

Welcome to my world of crafting.

This is the second anniversary card for this month and it's for my oldest son and his lovely wife.

Not the same as the one earlier in the month, but I did use the open hearts from that card in the making of this one.


To recreate this card follow the guide below:
® = retired, (sab) = Sale-A-Bration, (H) = Hostess, (nsu) = not stampin’ up, (ss) = Stamp set, DSP = designer series paper, CS = Card Stock

The base card is a top fold, Thick Whisper White (cs) measuring 10.5 x 29.7 cm, scored at 14.85 cm.

The strip of ® Bride dsp at the bottom measures 10.5 x 2.5 cm and is adhered using liquid glue.

Using the Stitched Be Mine dies, cut the large scalloped heart in Grapefruit Grove with the next heart down, layered inside it. (you now have 2 hearts)

Using the ® Stitched Be Mine(ss) stamp the sentiment,  Live Laugh Love onto Whisper White (cs) in  Grapefruit Grove and repeat the die cutting process carried out for the Grapefruit Grove hearts (you now have 4 hearts, 2 white and 2 Grapefruit Grove).

Dry emboss the Whisper White heart using the Subtle embossing folder.

Again using the Stitched Be Mine dies, and (sab) Grapefruit Grove Foil, die cut the open hearts.

Adhere the scalloped heart near the top of the base card using liquid glue, next adhere the open hearts using a sponge and liquid glue.

Attach the embossed heart using dimensional pads.

Now using the Beautiful Bouquet (ss) and Whisper White (cs)  stamp the Happy Anniversary in Grapefruit Grove, then using the Layering Ovals dies, die cut this sentiment and the corresponding scalloped oval in Grapefruit Grove.

Finally attach the scalloped oval to the sentiment oval using small dimensional pads and then adhere this to the card using liquid glue, attach 3 of the Foil hearts where you want them again using dimensional pads.

Job done!!

Upon refection I should have dry embossed the anniversary sentiment to match the heart.

Will be back again soon with more cards
Annette x

Thursday, 6 June 2019

Stitched Be Mine meets Beautiful Bouquet

Hello, and thanks for dropping by today!!

It's June now and so there are 2 anniversaries and one Wedding this month along with 2 birthdays. 

All three of my children decided June was the month to get married so here's the first.

My youngest son is now celebrating his 4th anniversary and here's the card I made for them both. It's just a shame they can't spend it together as he's in the Navy and up North at the moment.


To recreate this card follow the guide below:
® = retired, (sab) = Sale-A-Bration, (H) = Hostess, (nsu) = not stampin’ up, (ss) = Stamp set, DSP = designer series paper, CS = Card Stock

Start with a base card of Thick Whisper White (cs)  measuring 21 x 14.5 scored at 10.5 cm.

Next came 2 pieces of the Bride dsp ® measuring 10.5 x 4 cm, these pieces are cut using the scalloped edgelit from the Stitched Be Mine die set. (make sure you line the edgelit as close as you can to the edge of the dsp. Adhere using liquid glue.

Again with the Stitched Be Mine dies, cut out the 3rd smallest of the stitched hearts using the Bride dsp, the fancy heart, the straight line scroll and the open hearts using Grapefruit Grove Foil (sab).

Position the Bride dsp heart in the middle of the card and adhere down with liquid glue, sponge the back of the fancy heart with liquid glue and adhere over the top of the dsp heart. In the same way adhere the straight scroll below the scalloped edge at the bottom.

Take 2 of the popped out hearts and using small dimensional pads adhere where required.

On a piece of Whisper White (cs)  and using the Beautiful Bouquet (ss) stamp the sentiment in VersaMark and heat emboss using Copper embossing powder.

Using the Layering Ovals dies, die cut the sentiment and corresponding scalloped oval again in Grapefruit Grove foil (sab). Layer up these with dimensional pads and adhere to the card with liquid glue.

Will be back again soon with more cards.
Annette x

Tuesday, 7 May 2019

Beautiful Bouquet meets Beauty Abounds

Hi All, 

Well it looks like spring is on the way, it's a little warmer here in the West Midlands.


To recreate this card follow the  guide below:
® = retired, (cs) = card stock, (ss) = Stamp Set,(dsp) = Designer Series Paper

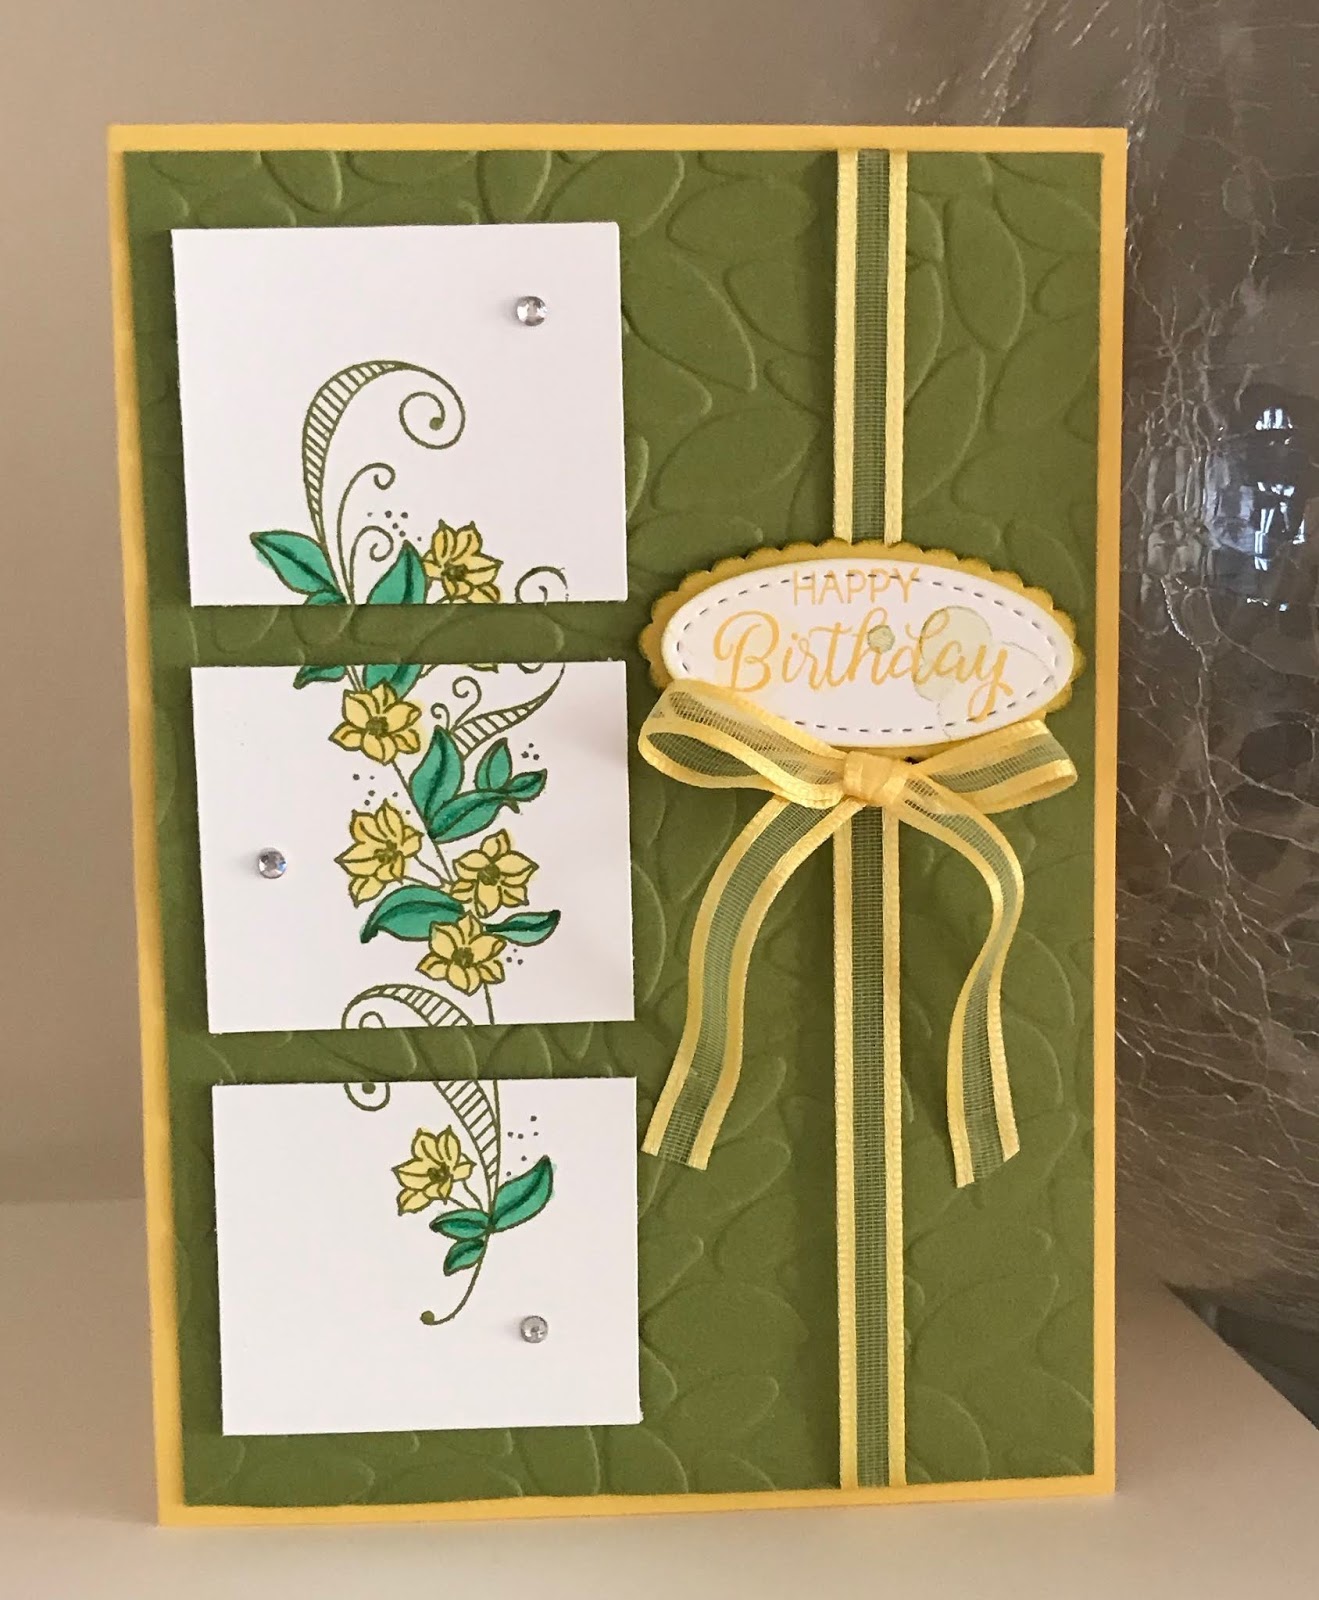
Start with a base card of Daffodil Delight measuring 14.8 x 21 cm scored at 10.5. 

Then a layer of  Old Olive (cs) measuring 10 x 14.3 cm, this is embossed using the Petal Burst folder.

On a piece of Whisper White (cs) measuring 12 x 4.5 cm and using the Beauty Abounds (ss) stamp the flowers in Old Olive.

Colour the flowers and leaves using Daffodil Delight and Call Me Clover Stamping'  Blends.

Now cut the flowers into 3 equal sections (each 4cm) adhere to the Old Olive layer using dimensional pads.

Adhere a strip of Daffodil Delight Organdy ribbon down the right hand side of the card using glue dots.

On Whisper White (cs) stamp the Happy Birthday from the Beautiful Bouquet (ss) in Daffodil Delight, then using the smaller of the group of circles in the Beauty Abounds (ss) stamp over the Happy Birthday (stamping off once first) in Daffodil Delight and Old Olive.

Die cut  the Happy Birthday using the smallest of the ovals from the Stitched Shapes Framelits and at the same time die cut the Smallest Scalloped Oval in Daffodil Delight from the Layering Ovals framelits.

Adhere the Happy Birthday sentiment to the scalloped oval using liquid glue. Then adhere this to the Old Olive card using dimensional pads.

Make a long tailed bow and adhere below the sentiment using glue dots.

Add some Rhinestones randomly down the flowers!!!

Will be back again soon with some more cards


Annette X

Friday, 29 March 2019

Sunshine Sayings meets Beautiful Bouquet

This is out of the norm for me, as usually I do hubby red, black and white cards as red's his favourite colour. So he'll be surprised this year as there's no red in sight. Just hope he likes it!!!

It's a couple of days late coming onto the blog as we've been away for a few days this week and rather busy.


To recreate this card follow the guide below:
® = retired, (sab) = Sale-A-Bration, (H) = Hostess, (nsu) = not stampin’ up, (ss) = Stamp set, DSP = designer series paper, CS = Card Stock

This is a card I Case'd from Lea Dentons' blog The crafty Spark.


Start with a base card of Shimmery White (cs) measuring 10" x 7" scored at 5".
Using Soft Sea Foam and the spolge stamp from the Sunshine Sayings (ss) create a (dsp) type background on the base card.
The Banner is 6" x 1¼” and the tail is created using the Tailored Tag punch. Once adhered to the base card cut off any excess dsp.
The sentiment is stamped using the Beautiful Bouquet (ss) in Fresh Fig making sure you leave enough room to die cut it.
The rest of the card is done using the Bigshot, filing the plate twice.
1. with the Sweet & Sassy ® framelits, die cut the 3 larger hearts using the Tranquil Textures (dsp) the love from the Sunshine Wishes thinlits in Fresh Fig, and the sentiment using the label from the Night Owl ® thinlits.
2. the 4 smaller hearts and the second love using Shimmery White.
Adhere the 2 loves together creating a shadow using liquid glue then attach to the lefthand side of the banner.
Now arrange the hearts down the card using liquid glue except for the smallest one which I used a dimensional for.
Lastly place the sentiment where you want it.


Will be back again soon with more cards


Love Annette x

Friday, 8 March 2019

Beautiful Bouquet meets Petal Palette

Wasn't sure what to do when it came to do this card, and this is what I came up with. I thought being the beginning of Spring a nice bright colour would be good. I'd picked out the stamp sets and decided on a colour and off I went, adding little touches here and there.


To recreate this card follow the guide below:
® = retired, (sab) = Sale-A-Bration, (H) = Hostess, (nsu) = not stampin’ up, (ss) = Stamp set, DSP = designer series paper, CS = Card Stock

Start with a base card of Whisper White (cs) measuring 14.8 x 21 cm scored at 10.5cm
Randomly stamp the small flowers from the Petal Palette (ss) in So Saffron ink around the edge of the base card to give some added interest.
Now using a piece of  Whisper White (cs) stamp the bird from the Petal Palette (ss) in Smoky Slate, using the light Mango Medley blends add some colour to the birds breast.
The Sentiment is from the Beautiful Bouquet (ss) and stamped onto So Saffron (cs) in Smoky Slate. Make sure you leave enough space around the stamping to be able to die cut both of these later.
For the first layer use So Saffron (cs) measuring 14.8 x 5.8 cm and emboss using the Petal Pair folder, I used the Tailored Tag punch to create the tail. Use liquid glue to adhere to the base card.
Now the easy part, all the die cutting can be carried out in one pass through the Big Shot 
Cut some Silver Foil to fit the heart from the Sunshine Wishes thinlits and the lattice work from the Petals & More thinlits and place them on your big shot plate, along with the leaves in Soft Sea Foam, the bird that was stamped earlier and the single banner from the Bunch of Banners framelits to cut the sentiment. Use a small piece of So Saffron for the small heart from the Support Ribbon framelits,  Once all positioned on the plate run through your big shot.
Emboss the small heart using the Subtle folder.
Now place the pieces where you want them on the card and adhere down using a mixture of liquid glue and dimensional tabs.
Add a small bow to the lattice work along the bottom. I used some of the Taffeta ⅜" ® I had in my stash.


Will be back again soon with more cards

Love Annette x

Thursday, 17 January 2019

Beautiful Bouquet meets Pop of Petals

Today has dawned bright and sunny, a lot better than yesterday, which was wet and miserable.

It's my cousin's birthday today and this is the card I sent her.

This is my first card using the pop of petals stamp set and coordinating punch and I was quite pleased with the results. I was also amazed at how quickly it came together once I got started.


To recreate this card follow the guide below:
cs = Card Stock, dsp = Designer Series Paper, ® = Retired

Start with a base card measuring 14.5 x 21 and scored at 10.5
First layer measures 10 x14 and attached straight to the base card
Second layer is 9.5 x 13.5 and is embossed using the Seaside folder
Add some ribbon to this layer just below half way down (grosgrain grapefruit grove)
Using an off cut of card stock stamp a flower from the Pop of Petals stamp set and then stamp a second generation (one dark, one lighter), repeat 3 time for each of the flowers and then punch them out using the Four Petal punch
Stamp 3 of the leaves from the same set and fussy cut them (grrr hate fussy cutting) give me more dies or punches please
Stamp the happy birthday from the Beautiful Bouquet stamp set leaving enough room around it to die cut using one of the Stitched Labels dies
Using Vellum, die cut the larger fancy label and at the same time die cut the happy birthday using the smaller label
Arrange these on the the card and add the Faceted Gems to the flowers then add a bow.

Will be back again soon with more cards


Love Annette x

Sunday, 2 September 2018

Shaker Card using the thumping technique

It's rather dull here again today yet when I got up this morning it was glorious sunshine. Just shows close your eyes for a second and the weather can change just like that.

The card I have for you today is again a nice easy one, and retired products can be swapped out for similar stamps in the current catalogue.

The thumping technique is so easy to do!!

First ink up your stamp with the base colour (for me that was powder pink) then using a different colour marker (for me it was balmy blue) gently tap up and down randomly across the base colour and then stamp.

I used whisper white thick card for the base and the mat is normal whisper white die cut using the balloon die, stamped, daubed with the stars using the mask and then embossed using the subtle's embossing folder.

The cat was shaded using watercolor pencils and then brushed out with an aqua painter. It was at this stage I embossed the mat. A bakers twine bow was then placed at the bottom of the balloon. I used our foam adhesive strips round the edge of the circle for height and placed the sequins on the base card and pressed down.

The party hat was  stamped coloured, fussy cut and then a glitter enamelled dot used as the pompom. 

Sorry the Granddaughter sentiment is not an SU product and it was this I stamped with powder pink and thumped with balmy blue. 

Just hope she likes it!!

Must go, as I've to get ready now for Evie's birthday celebration. 


The materials used are:
® = retired, (sab) = Sale-A-Bration (nsu) = not stampin’ up

Stamps: Balloon Celebration, Beautiful Bouquet, Hello ®, Pretty Kitty, Colours: Balmy Blue, Powder Pink: Embossing Folders: Subtle Framelits: Balloon ®  Accessories: Aqua painter, Bakers Twine, Fancy Frost Sequins ®, Glitter Enamel Dots ®, Hearts & Stars Mask ®, Watercolor Pencils 

Will be back again soon with more cards

Love Annette x

Saturday, 25 August 2018

Z Fold Fridge Magnet Card

Today's card is based on one I saw on one of the blogs I troll each day and can't remember who's it was (Sorry). I love this sentiment from the "Layering Love" stamp set and thought it would make a lovely fridge magnet but never got round to using it until now (sorry it's retired) but here goes on how i made it.

Card base is a Z fold with a centre fold and then a 1¼” fold back for the front.

The sentiment is stamped using “layering love” and an oval stitched shape followed by a scalloped layering oval. 

The flowers and leaves are stamped from the “beautiful bouquet” and die cut using the “bouquet bunch” framelits. 

The close mechanism is formed using magnets, which in turn means the sentiment can be a fridge magnet afterward. 

Basic pearls were added to the centre of each of the flowers.

Hope you enjoyed today's card!

closed open

The materials used are:
® = retired, (sab) = Sale-A-Bration (nsu) = not stampin’ up

Stamps: Beautiful Bouquet, Layering Love ® Colours: Mint Macaron, Whisper White DSP: Tranquil Textures  Framelits:  Bouquet Bunch, Layering Ovals, Stitched Shapes Accessories: Basic Pearls, Magnets (nsu)

Will be back again soon with more cards

Love Annette x

Saturday, 7 July 2018

Beautiful Bouquet with Scattered Sequins

Well we've just come back for a lovely holiday in Yorkshire, the weather couldn't have been better and the company was fantastic. There was a lot crammed into a week and by the time we were heading home we all felt like we needed a rest. 

York it's self is a beautiful city with lots to do and see so we needed two days there to cover all we wanted to do. The railway museum is a must. The rest of the time we went to Whitby for the Abbey and then onto Scarborough which was unfortunately enfolded in a thick sea fog so we didn't stop there. We had a day in the Dales which are stunning and a day on the Moors it's amazing how one county has such contrasting landscape the rugged moors and then the beautiful dales. Obviously throughout this holiday there was a bit of shopping thrown in here and there so empty wallets when we got home.

In all these places there were plenty of steps to climb so lots of exercise was had by all.

Now onto the card I made a while ago for my son's and their wives, but I have just realised that for Stuart it wasn't very appropriate as unfortunately they were unable to spend their's together. Rachael was back and forwards to the hospital in Plymouth and Stuart was in Portsmouth. but they're now both home with a beautiful baby boy that wasn't due until the 31st July. 

It was the simplicity of the card that caught my eye on Pinterest and it was also quite easy to make. Die cutting, embossing, punching and a little stamping job done. 


The materials used are:
® = retired, (sab) = Sale-A-Bration (nsu) = not stampin’ up

Stamps: Beautiful Bouquet : Colours: Basic Gray, Pear Pizzazz, Whisper White Embossing folders: Scattered Sequins Dynamic Punches: Washi Tape ® Framelits: Bouquet Bunch, Layering Circles, Stitched Shapes Accessories: Bakers Twine ®, Basic Pearls


Inspired by Carol Arneson

Will be back again soon with more cards

Love Annette x

Saturday, 2 June 2018

Beautiful Bouquet Birthday

It's Here

The longed for 2018 - 2019 Annual Catalogue

And there's so much to choose from, so if you don't have yours yet go make yourself a cuppa, come back, relax and click on the link opposite.

Then Enjoy!!!


I picked a card made with products mostly from the old catalogue which have carried over into the new one (yeah!!). The only thing no longer available is the Epoxy Shapes, but there are plenty of alternatives. The relationship sentiment isn't a Stampin' Up! product.

I like clean and simple cards as a rule so when I saw a variation of this on Pinterest I took a mental note and this is what I came up with.


The materials used are:
® = retired, (sab) = Sale-A-Bration (nsu) = not stampin’ up

Card stock: Tranquil Tide, Whisper White 
Ink: Tranquil Tide
Stamp sets: Beautiful Bouquet
Embossing folders: Softly Falling
Framelits: Bouquet Bunch, Stitched Shapes
Accessories: Glitter & Clear Epoxy Shapes

Inspired by: Papercraft Skies

Will be back again soon with more cards

Love Annette x